Loading...
Using Global Settings in a B2C White Label Solution
Home » Documentations » WordPress Travel Plugin » Global settings
View all the transactions made through your wallet with timestamp. Easy reporting, export transaction history for detailed analysis.
- You are free to decide the floating balance
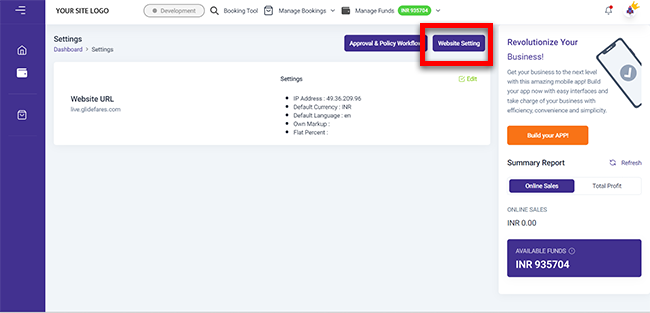
1. Login to your back office and navigate to Website Settings > Global Settings
2. You can edit your default global settings and click Save
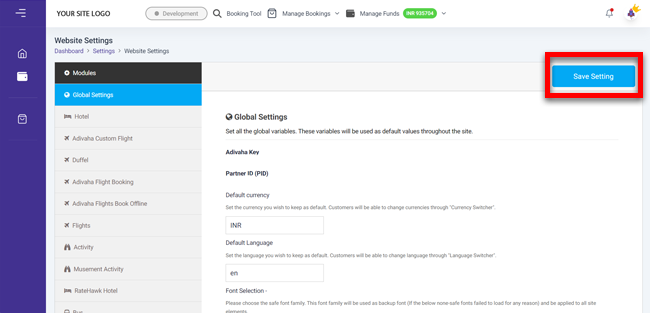
- adivaha® Key: Keep this in safe place. This would be your key to access inventories through the CRS and make bookings and transactions.
- Default Currency: Set the default currency of your website.
- Default Language: One can change the default language of the website if the supplier offers their content in multilingual.
- Select Font: Select the default font for your website
- Contact Number: You will receive a SMS of each bookings or transaction on the provided mobile number.
- Terms and Conditions Page URL: Customers will find the link of your terms and conditions in the booking page.
- Refund & Cancellation policy page url: Customers will find the link of your refund policy in the booking page.
- CC Email: Put comma seperated emails that you wish to loop in